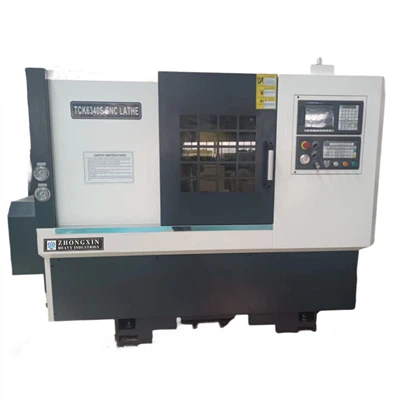
Hey there! As a supplier of gap bed lathes, I'm stoked to share some tips on how to adjust the tool post on a gap bed lathe. Whether you're a seasoned pro or just starting out in the machining world, getting the tool post adjustment right is crucial for a smooth and precise operation.


First off, let's talk about why adjusting the tool post matters. A well - adjusted tool post ensures that your cutting tool is in the correct position relative to the workpiece. This means better accuracy in your cuts, longer tool life, and overall higher - quality finished products. If the tool post isn't adjusted properly, you might end up with rough surfaces, inaccurate dimensions, and even damage to your tools or the lathe itself.
Now, let's dive into the steps of adjusting the tool post on a gap bed lathe.
Step 1: Preparation
Before you start making any adjustments, it's important to make sure your lathe is in a safe and ready - to - operate state. Turn off the lathe and unplug it from the power source. This is a basic safety measure, but you'd be surprised how many accidents happen because people forget this step.
Remove any debris or chips from the tool post and the surrounding area. You can use a brush or compressed air to clean it up. A clean work area will make the adjustment process easier and more accurate.
Step 2: Select the Right Tool Post
Gap bed lathes usually come with different types of tool posts, such as four - way tool posts and quick - change tool posts. The choice of tool post depends on your specific machining needs. A four - way tool post is great for simple operations and is easy to use. On the other hand, a quick - change tool post allows you to swap out cutting tools quickly, which is super convenient if you're doing multiple operations.
If you're using a four - way tool post, make sure the tools are securely clamped in place. You can do this by tightening the clamping screws. For quick - change tool posts, follow the manufacturer's instructions to install the tool holders correctly.
Step 3: Align the Tool Post Horizontally
The horizontal alignment of the tool post is essential for accurate cutting. Start by loosening the locking bolts or screws that hold the tool post in place on the cross - slide. You'll usually find these on the side of the tool post.
Once the tool post is loose, use a dial indicator to check the horizontal alignment. Mount the dial indicator on the lathe bed or a stable fixture. Then, touch the indicator's tip to the side of the tool post. Move the cross - slide to the left and right slowly, and observe the reading on the dial indicator.
If the reading changes, it means the tool post is not horizontally aligned. To correct this, use a small pry bar or a similar tool to gently adjust the position of the tool post until the dial indicator shows a consistent reading across the entire range of movement. Once you're satisfied with the alignment, tighten the locking bolts or screws.
Step 4: Align the Tool Post Vertically
Vertical alignment is just as important as horizontal alignment. The cutting tool should be at the right height relative to the centerline of the workpiece. To check the vertical alignment, you can use a center - height gauge.
Place the center - height gauge on the lathe bed and position the cutting tool against it. If the tool is too high or too low, you can make adjustments. Some tool posts have a height - adjustment mechanism. You can use this to raise or lower the tool post until the cutting tool is at the correct height.
Another way to adjust the vertical position is by using shims. If the tool is too low, you can place shims under the tool post to raise it. Make sure the shims are clean and flat, and that they are evenly distributed.
Step 5: Fine - Tuning
After you've completed the horizontal and vertical alignments, it's time for some fine - tuning. Take a test cut on a scrap piece of material. Check the surface finish of the cut and the dimensions of the workpiece. If the surface is rough or the dimensions are off, you might need to make some minor adjustments to the tool post.
You can also check the cutting forces during the test cut. If the tool seems to be struggling or if there are excessive vibrations, it could indicate that the tool post is not adjusted correctly. Make small adjustments to the alignment and try another test cut until you get the desired results.
Step 6: Lock Everything in Place
Once you're happy with the adjustments, make sure to lock all the bolts and screws tightly. This will prevent the tool post from moving during the machining process. Double - check all the connections to ensure everything is secure.
Using Our Gap Bed Lathes
At our company, we offer top - notch Gap Bed Engine Lathe and Gap Bed Lathe CS6250C. These lathes are designed with precision and durability in mind, making them perfect for a wide range of machining applications.
Our gap bed lathes come with high - quality tool posts that are easy to adjust. The robust construction of these lathes ensures that they can handle heavy - duty machining tasks. Whether you're machining small parts or large - scale components, our gap bed lathes will get the job done.
If you're interested in purchasing a gap bed lathe or have any questions about adjusting the tool post, don't hesitate to contact us. We have a team of experts who are ready to assist you with your purchase and provide any technical support you might need.
Adjusting the tool post on a gap bed lathe might seem a bit daunting at first, but with these steps and a bit of practice, you'll be able to do it like a pro. Remember, a well - adjusted tool post is the key to achieving high - quality results in your machining projects.
References
- Machining Handbook, Various Editions
- Lathe Operation Manuals from Multiple Manufacturers