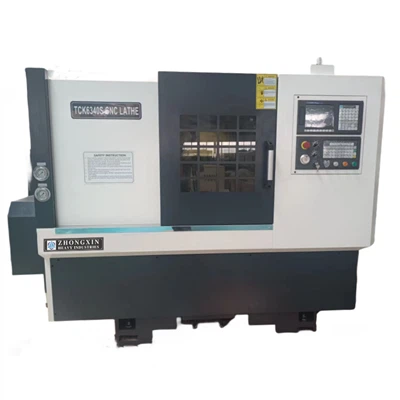
Ensuring the proper alignment of CNC lathe chuck jaws is crucial for achieving high - precision machining results. As a reputable CNC Lathe Chucks supplier, I understand the significance of this process and am here to guide you through the steps to check the alignment of these essential components.
Understanding the Importance of Chuck Jaws Alignment
The chuck jaws of a CNC lathe are responsible for holding the workpiece firmly in place during the machining process. Misaligned chuck jaws can lead to a variety of issues, such as inaccurate machining dimensions, poor surface finish, and even damage to the workpiece or the cutting tools. When the jaws are not properly aligned, the workpiece may not be centered correctly, causing uneven cutting forces and potentially resulting in parts that do not meet the required specifications.
Tools Required for Checking Alignment
Before you begin the alignment check, you will need to gather a few essential tools. These include a dial indicator, a magnetic base for the dial indicator, a clean cloth, and a set of precision feeler gauges. The dial indicator is used to measure the run - out or deviation of the chuck jaws, while the magnetic base allows you to securely attach the indicator to the lathe. The clean cloth is used to wipe the jaws and the workpiece to ensure accurate measurements, and the feeler gauges are used to check for any gaps between the jaws and the workpiece.
Step - by - Step Guide to Checking Alignment
Step 1: Prepare the Lathe and Chuck
First, make sure the lathe is turned off and the power is disconnected to prevent any accidental movement. Clean the chuck jaws thoroughly using the clean cloth to remove any debris, chips, or coolant that may have accumulated. This will ensure accurate measurements and prevent any contaminants from affecting the alignment.
Step 2: Mount the Dial Indicator
Attach the magnetic base of the dial indicator to a stable part of the lathe, such as the tool post or the cross - slide. Position the indicator so that the measuring tip is in contact with the outer surface of one of the chuck jaws. Make sure the indicator is perpendicular to the jaw surface for accurate readings.
Step 3: Zero the Dial Indicator
Gently rotate the chuck by hand until the measuring tip of the dial indicator is at its lowest point. Use the adjustment knob on the indicator to set the reading to zero. This will serve as the reference point for your measurements.
Step 4: Check the Radial Run - Out
Slowly rotate the chuck through a full 360 - degree turn while observing the dial indicator. The indicator will show the amount of radial run - out, which is the deviation of the jaw from a perfect circular path. A small amount of run - out is normal, but excessive run - out indicates misalignment. Generally, for most precision machining applications, the radial run - out should be within a few thousandths of an inch.

Step 5: Check the Axial Alignment
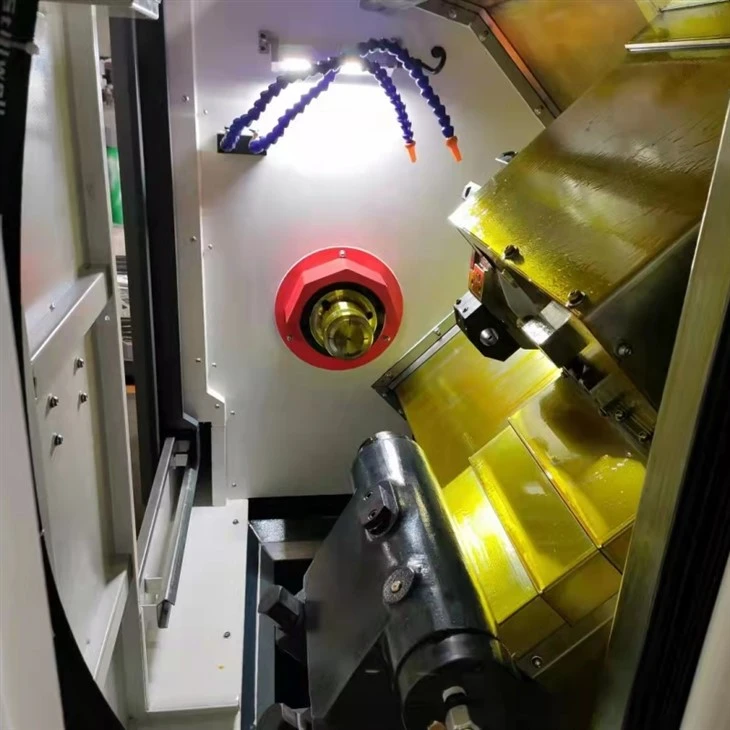
To check the axial alignment of the chuck jaws, move the dial indicator so that the measuring tip is in contact with the end face of one of the jaws. Zero the indicator again at the lowest point. Then, rotate the chuck and observe the indicator reading. Any significant variation in the reading indicates axial misalignment.
Step 6: Use Feeler Gauges
After checking the run - out and axial alignment, use the feeler gauges to check for any gaps between the jaws and the workpiece. Insert the feeler gauges between the jaws and a test piece of the same diameter as the actual workpiece. If there are gaps larger than the specified tolerance, it may be necessary to adjust the jaws.
Adjusting the Chuck Jaws
If you find that the chuck jaws are misaligned, there are several methods to adjust them. Some chucks have adjustable screws or bolts that can be used to fine - tune the position of the jaws. Refer to the manufacturer's manual for your specific chuck model to determine the correct adjustment procedure. In some cases, it may be necessary to disassemble the chuck and clean or replace any worn or damaged components.
Maintaining Chuck Jaws Alignment
Regular maintenance is key to ensuring the long - term alignment of your CNC lathe chuck jaws. After each use, clean the jaws thoroughly to remove any debris. Periodically check the alignment using the steps outlined above, especially if you notice any changes in the machining quality. Lubricate the moving parts of the chuck according to the manufacturer's recommendations to prevent wear and ensure smooth operation.
The Role of High - Quality Chuck Jaws
As a CNC Lathe Chucks supplier, we offer a wide range of high - quality chuck jaws designed to provide accurate and reliable performance. Our chucks are manufactured using precision machining techniques and high - grade materials to ensure long - lasting durability and consistent alignment. Whether you are using a Horizontal Turning Lathe, a Slant Bed Cnc Lathe Machine, or a Precision CNC Lathe, our chuck jaws are engineered to meet the demanding requirements of modern machining applications.
Conclusion
Checking the alignment of CNC lathe chuck jaws is a critical process that directly impacts the quality and accuracy of your machining operations. By following the steps outlined in this guide and using the right tools, you can ensure that your chuck jaws are properly aligned and functioning at their best. If you are in the market for high - quality CNC lathe chucks or need further assistance with alignment and maintenance, we encourage you to contact us. Our team of experts is ready to help you find the perfect solution for your machining needs and ensure that you achieve the highest level of precision and productivity.
References
- "CNC Lathe Operation and Programming" by John Doe
- "Precision Machining Handbook" by Jane Smith
- Manufacturer's manuals for various CNC lathe and chuck models