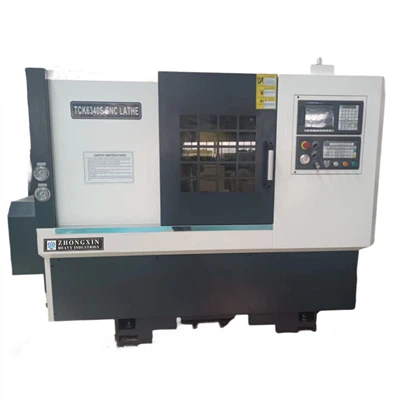
Hey there! As a supplier of manual lathes, I often get asked about how to install tools on the tool post of a manual lathe. It might seem like a daunting task, especially if you're new to working with manual lathes, but it's actually a straightforward process if you follow the right steps. In this blog, I'll walk you through the whole thing, so you can get your lathe up and running smoothly.
Understanding the Tool Post
First things first, let's talk about the tool post. The tool post is a crucial part of a manual lathe. It's where you mount the cutting tools that will shape your workpiece. There are different types of tool posts, but the most common ones are the four-way tool post and the quick-change tool post.

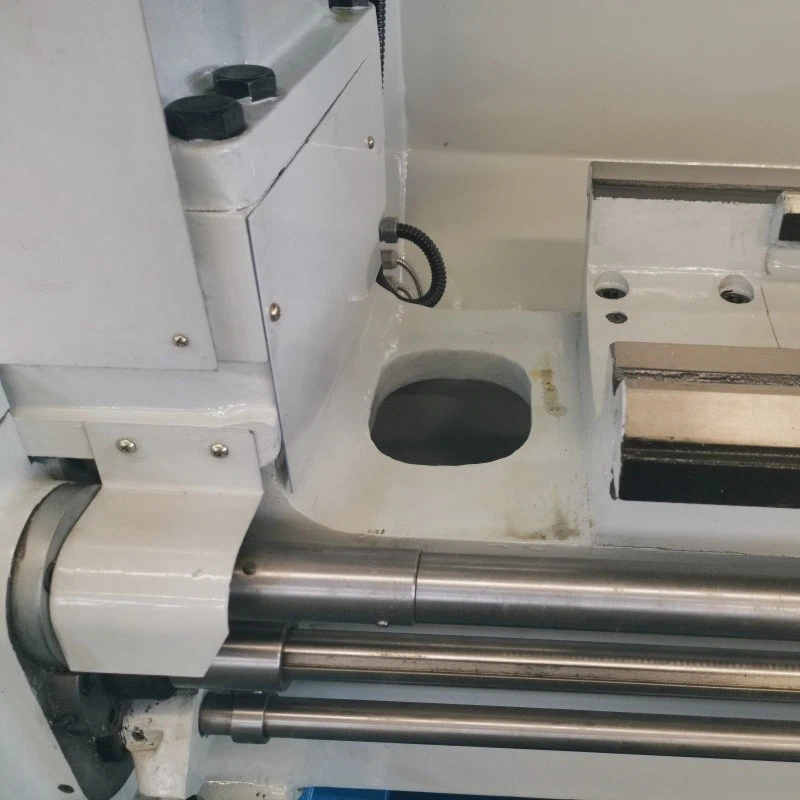
The four-way tool post is pretty basic. It has four positions where you can mount different tools. You can rotate it to bring the desired tool into position. On the other hand, the quick-change tool post is more advanced. It allows you to swap tools quickly without having to make a lot of adjustments.
Tools You'll Need
Before you start the installation process, make sure you have all the necessary tools. Here's a list of what you'll typically need:
- Wrenches: You'll need the right-sized wrenches to loosen and tighten the bolts on the tool post. The size of the wrenches will depend on the model of your lathe.
- Toolholder: This is what holds the cutting tool in place on the tool post. Make sure the toolholder is compatible with your tool and the tool post.
- Cutting Tool: Of course, you'll need the actual cutting tool. There are different types of cutting tools available, such as turning tools, boring tools, and threading tools. Choose the right one for your project.
- Measuring Tools: A caliper or a micrometer can be handy to ensure that the tool is installed at the correct height and angle.
Preparing the Lathe
Before you install the tool, you need to prepare the lathe. Here's how:
- Clean the Tool Post: Use a rag to clean the tool post thoroughly. Remove any dirt, debris, or chips that might be stuck on it. A clean tool post will ensure a secure fit for the toolholder.
- Inspect the Tool Post: Check the tool post for any signs of damage or wear. Make sure the bolts are in good condition and can be tightened properly. If you notice any problems, you might need to repair or replace the tool post.
- Position the Lathe: Turn off the lathe and make sure the chuck is stationary. You don't want the lathe to start spinning while you're installing the tool.
Installing the Toolholder
Now that the lathe is ready, it's time to install the toolholder. Here's how to do it:
- Select the Right Toolholder: Choose a toolholder that is compatible with the cutting tool you're using and the tool post on your lathe. There are different sizes and shapes of toolholders available, so make sure you get the right one.
- Position the Toolholder: Place the toolholder on the tool post. Make sure it is centered and aligned properly. If you're using a four-way tool post, you can position the toolholder in one of the four available slots. If you're using a quick-change tool post, follow the manufacturer's instructions to insert the toolholder.
- Tighten the Bolts: Use the appropriate wrench to tighten the bolts on the tool post. Make sure the toolholder is securely fastened to the tool post. Don't over-tighten the bolts, as this could damage the tool post or the toolholder.
Installing the Cutting Tool
Once the toolholder is installed, you can install the cutting tool. Here are the steps:
- Insert the Cutting Tool: Place the cutting tool into the toolholder. Make sure it is inserted all the way and is centered properly. If the cutting tool has a set screw, tighten it to secure the tool in place.
- Adjust the Height and Angle: Use a measuring tool to check the height and angle of the cutting tool. The height of the tool should be set so that the cutting edge is at the same level as the center of the workpiece. The angle of the tool will depend on the type of machining operation you're performing. For example, if you're turning a workpiece, the tool should be angled slightly towards the workpiece.
- Lock the Tool: Once you've adjusted the height and angle of the cutting tool, lock the toolholder in place. On a four-way tool post, you can use the locking bolt to secure the toolholder. On a quick-change tool post, there may be a locking mechanism that you need to engage.
Testing the Tool Installation
After you've installed the tool, it's a good idea to test it before you start machining. Here's how:
- Turn on the Lathe: Slowly turn on the lathe and let it run at a low speed. Check to make sure the tool is not hitting the workpiece or any other parts of the lathe.
- Check for Vibration: Listen for any unusual vibrations or noises coming from the lathe. If you notice any vibrations, it could mean that the tool is not installed properly or that the workpiece is not balanced.
- Make a Test Cut: If everything seems okay, you can make a test cut on a scrap piece of material. This will allow you to check the cutting performance of the tool and make any necessary adjustments.
Conclusion
Installing a tool on the tool post of a manual lathe is not as difficult as it might seem. By following the steps outlined in this blog, you can install the tool quickly and easily. Remember to always use the right tools and follow the manufacturer's instructions. If you have any questions or need further assistance, don't hesitate to contact us.
At our company, we offer a wide range of Manual Lathe For Sale, including Manual Turret Lathe and Mini Lathe Machine. Our lathes are of high quality and come with excellent customer support. If you're interested in purchasing a manual lathe or have any questions about tool installation, feel free to reach out to us. We're here to help you with all your lathe needs.
References
- Smith, J. (2020). Manual Lathe Operations. Industrial Press.
- Brown, A. (2019). Tooling for Manual Lathes. Machinist's Handbook.